
How To Make A Pre Cooked Ham
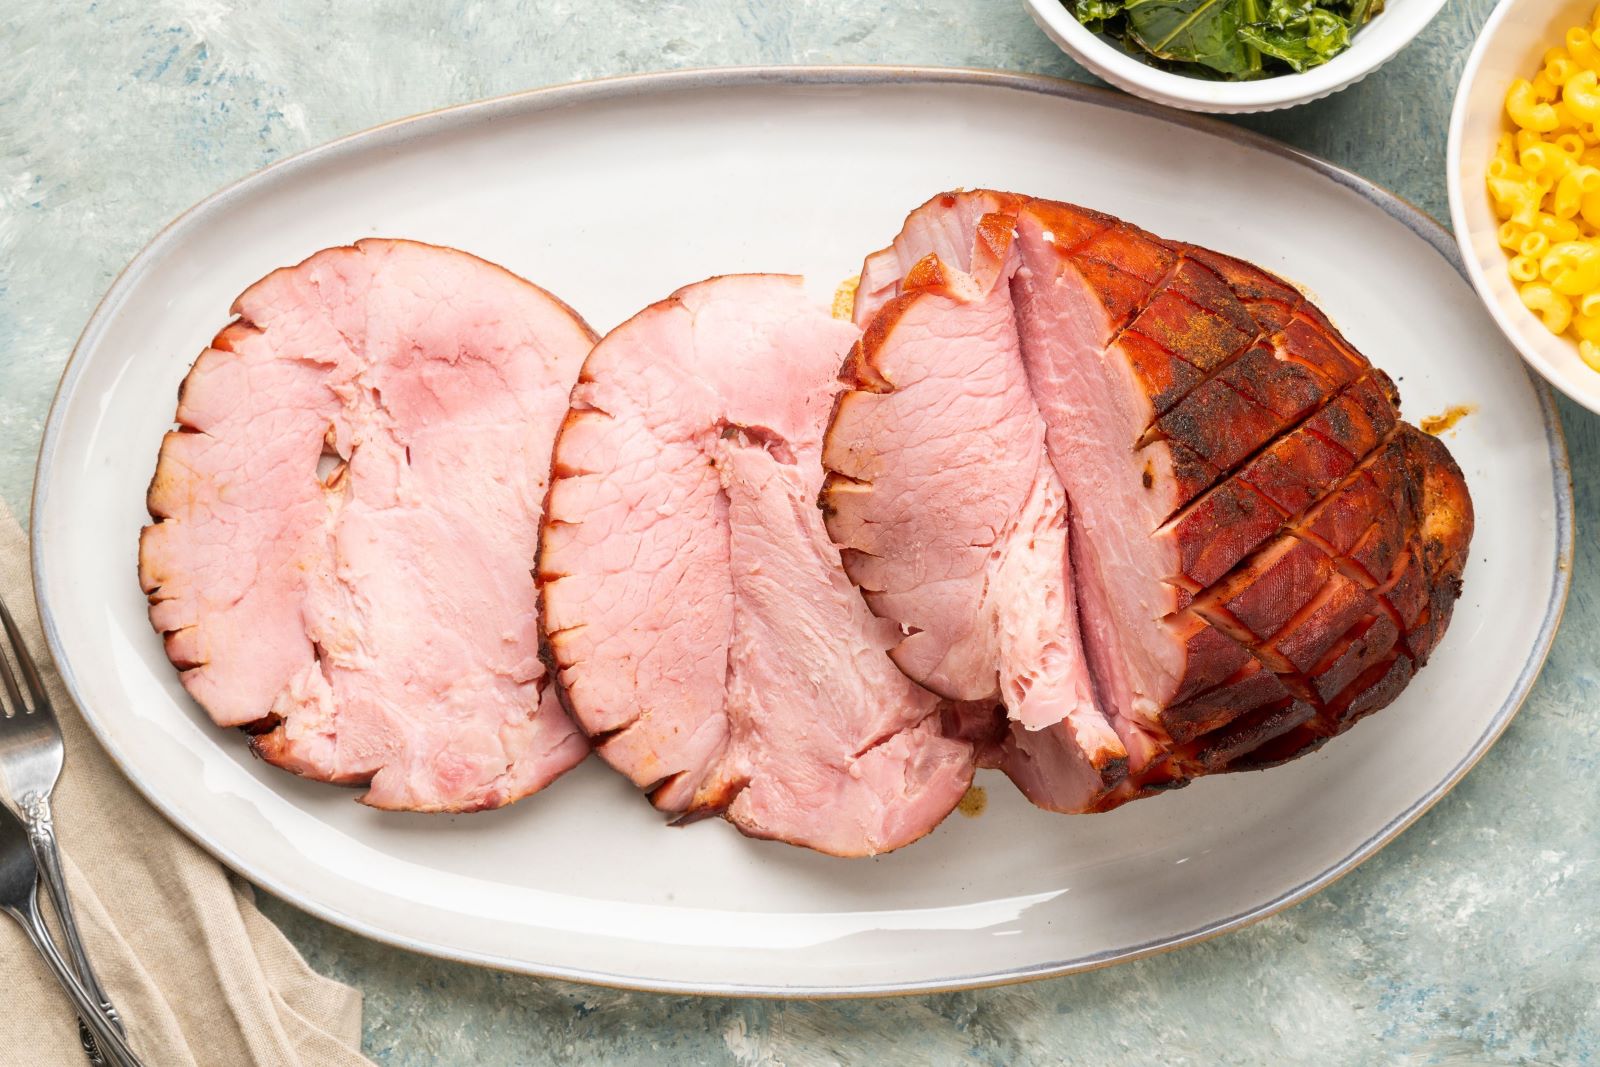
Let’s be honest: the great “ham debate” is rarely about how to cook it. It’s about how to convince everyone you did more than just open a plastic bag. A pre-cooked ham is the culinary equivalent of a power suit—already tailored, you just need to press it and add the right accessories. Today, we’re elevating that humble grocery store hero into a centerpiece that whispers effortless sophistication, not last-minute panic.
The Great Ham Truth
First, a liberating fact: Never boil a pre-cooked ham. It’s already cooked! You are a re-heater, a rejuvenator, a flavor architect—not a chef fighting raw meat. That glossy, spiral-cut beauty from the store is your canvas, and it’s begging for a second act. The real trick is managing temperature and moisture, because nothing screams “holiday stress” like dry, chewy pork.
Think of your pre-cooked ham as a guest of honor at a party. You don’t need to invent a new personality for it; you just need to give it a great outfit (a glaze) and the right environment (a low, slow oven). When you understand this, the process becomes almost meditative—a warm, aromatic ritual rather than a high-stakes cooking exam.
Must Read
Your Simple Strategy: Low and Slow
Pull the ham out of the fridge one hour before baking. This little “temperature vacation” means the interior will warm evenly without the outside drying out like a desert. Score the fat cap in a diamond pattern if it isn’t already done—it’s not just for looks; it creates pockets for your glaze to drip into, like tiny flavor reservoirs.
Pop it into a roasting pan with a splash of water, apple juice, or even a dash of bourbon in the bottom. This creates steam, your secret weapon against dryness. Cover it tightly with foil and bake at 325°F—that’s the sweet spot—for about 10 to 15 minutes per pound. It’s almost lazy, and that’s the point.
The Glaze: Where the Magic Happens
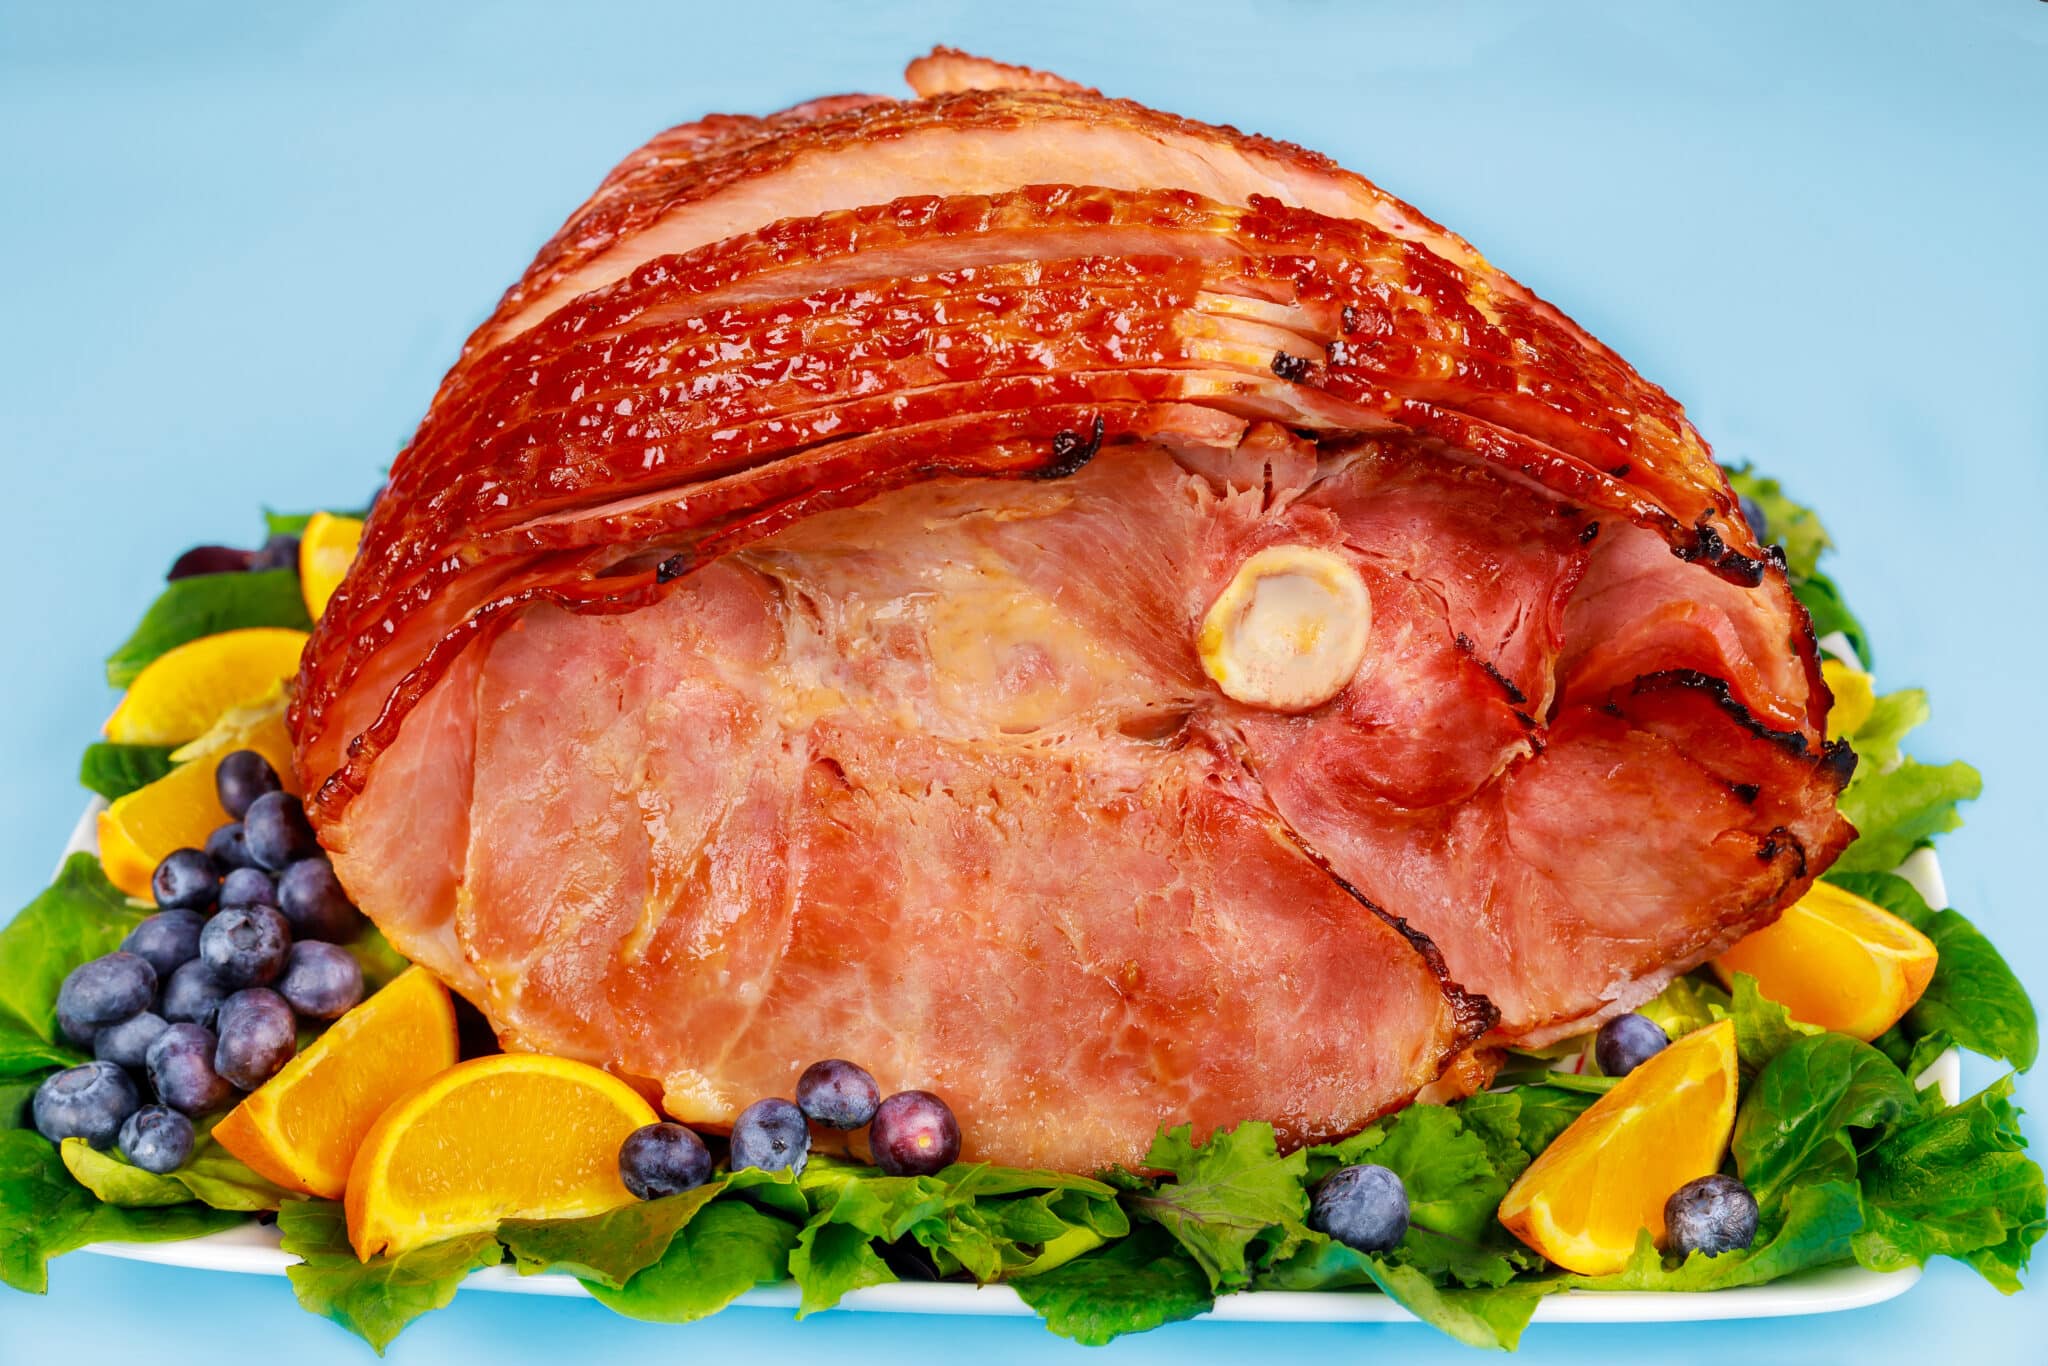
About 20 minutes before the ham reaches 140°F (check with an instant-read thermometer, the only real job you have), brush on your glaze. Classic brown sugar and Dijon mustard? Yes. Something with a hint of chipotle? Also yes. A touch of maple syrup mixed with orange zest can make your kitchen smell like a Vermont bed-and-breakfast.
Then, crank the oven to 425°F, remove the foil, and let that glaze caramelize for those final minutes. Watch it bubble and darken—this is where the Instagram-worthy shine is born. The sugars will become a sticky, crackling crust that contrasts perfectly with the tender meat. It’s edible theater.
Cultural Shortcuts & Fun Facts
Did you know that in the American South, a pre-cooked ham is often called “city ham”? It’s a direct contrast to the salt-cured “country ham” that requires days of soaking. And in parts of Europe, a baked ham is often paired with a sweet-savory crust of honey and cloves—a tradition dating back to the 17th century, when sugar was a rare, exotic luxury.
Here’s a fun little trick: If your glaze is too runny, toss in a smidgen of cornstarch mixed with cold water. Or, channel a French bistro vibe by adding a splash of white wine to the pan juices for a quick, elegant sauce. No one needs to know the ham started as a factory-made shortcut—your dinner party just thinks you’re a time wizard.
And a truly modern hack: use a slow cooker. For a hands-off weeknight, place the ham in the crockpot with a can of pineapple juice and a layer of brown sugar. Cook on low for 4-5 hours. The result is so tender it virtually falls apart, and you just won Tuesday night dinner.
Practical Serving Wisdom
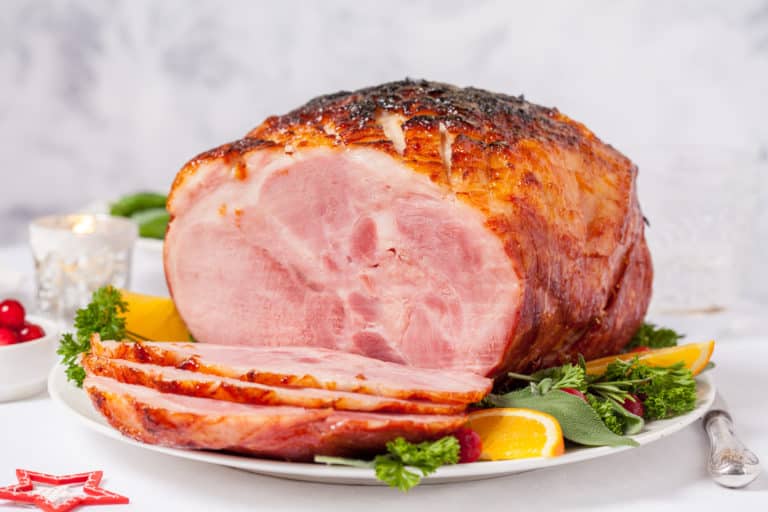
Let the ham rest for 15 minutes after it comes out of the oven. This is non-negotiable. Slicing immediately is like opening a furnace door—all the juicy goodness steams away into oblivion. Use a sharp, long knife and slice against the grain if it’s not spiral-cut, for the most tender bites.
Don’t toss the bone! That glorious hunk of pork bone is the foundation of lentil soup, split pea soup, or a smoky bean stew the next day. Freeze it with a zip-top bag labeled “Future Comfort.” It’s a gift that keeps giving, long after the dinner plates are cleared. Your future self will thank you.
If you have leftovers (and you will, for about four days of sandwiches, omelets, and hash), store the ham in slices separated by parchment. This prevents the dreaded “clumping” and keeps the texture fresh. A little bit of leftover glaze can be brushed on slices for a quick reheat in a skillet—instant nostalgia.
A Final Reflection
Making a pre-cooked ham is really a metaphor for modern life. We’re all already “cooked”—we carry our history, our training, our stories. The art isn’t in starting from scratch every time. It’s in knowing how to warm ourselves up, how to add a little glaze of intention, a sprinkle of curiosity, and some patience before the big reveal. You don’t need to be a hero chef. You just need to show up, serve something that tastes like care, and let the rest of the evening be simple, warm, and full of good company.
So preheat that oven, pour yourself a glass of something nice, and remember: you don’t have to cook everything from scratch to create something memorable. Sometimes, the most delicious thing you can do is just take the time to shine up what’s already there.